The hand filter is the epitome of control, clarity, and craftsmanship in the coffee world. If you want to know how to brew coffee properly with a hand filter, you've come to the right place. In this article, you'll find precise instructions, numerous professional tips, and an FAQ that answers the most frequently asked questions. And best of all: You don't need an expensive machine—just attention, good beans, and the right technique.
What is a hand filter – and why is it so popular?
The hand filter is one of the oldest and most precise methods of coffee preparation. It involves a manual brewing process in which hot water is poured in a controlled and precise manner over freshly ground coffee grounds in a paper filter. The coffee then flows – by gravity alone – into a carafe or cup below.
Unlike automated processes (e.g., fully automatic coffee machines, capsule machines, or French presses), the hand filter gives you full control over all relevant parameters: the grind size, water temperature, brewing technique, brewing ratio, and brewing time. These are precisely the factors that determine the final result in your cup.
This precise control creates clear, balanced cup profiles with high aromatic transparency. Lighter roasted specialty coffees, in particular, benefit from this method, as their fruity, floral, or nutty nuances are particularly well-emphasized by the hand filter—nuances that are often suppressed or masked in pressurized processes.
Why is the hand filter so popular?
Maximum control over taste and extraction
You control yourself:
- How much coffee you use
- How finely you grind
- How hot the water is
- How to pour the water – slowly, in intervals, with or without agitation
This means that every variable is a lever. This makes the method particularly attractive for those who want to understand rather than simply consume.

Sustainable and resource-saving
No electronics, no capsules, no motors:
- The hand filter works completely without electricity
- Paper filters are biodegradable
- Many models are made of durable materials such as ceramic, glass or stainless steel.
An advantage for environmentally conscious people and minimalists alike.
Low entry costs
Compared to portafilters or high-quality fully automatic machines, the hand filter is:
- very cost-effective
- low-maintenance
- and does not require complex technology.
A simple Hario V60 costs less than €30, plus a grinder – and you can brew at barista level.
Flexible and mobile
All you need is hot water – no electricity, no pressure. The hand filter is:
- ideal for travel, camping, office or hotel room
- easy to store and clean
- suitable for single servings as well as for multiple cups
Ritual instead of routine
Brewing manually with a filter is a conscious ritual. It slows things down. It demands your attention. And it rewards you with a taste experience that you have shaped yourself with every move.
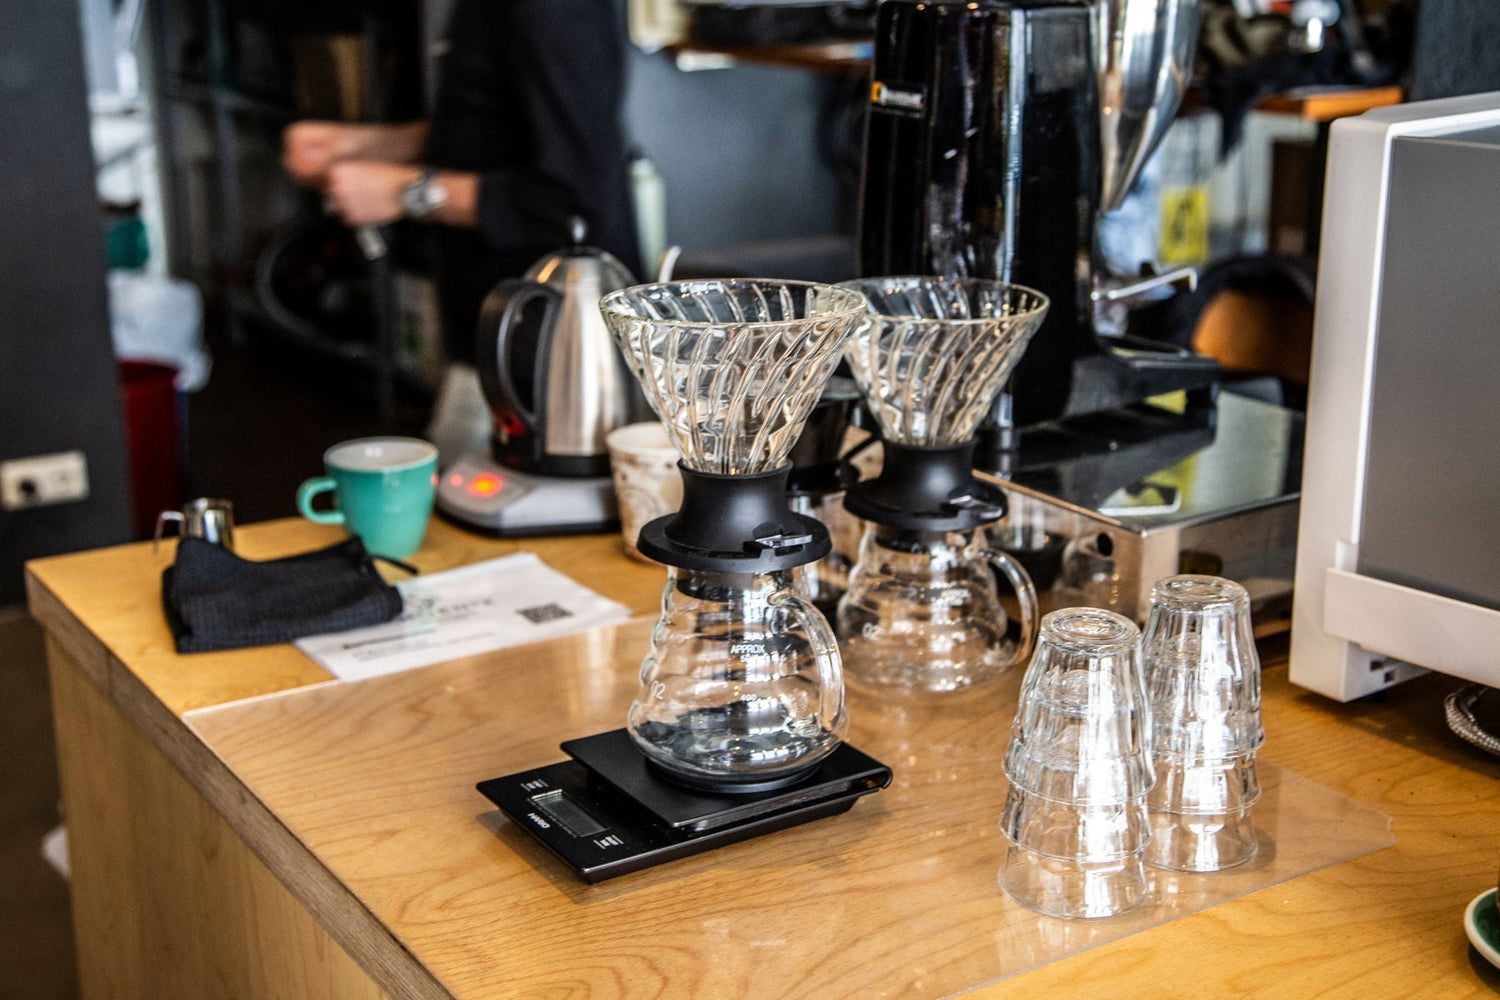
What equipment do you need?
To brew really good coffee with the hand filter, you should have the following utensils ready:
- Hand filter (e.g. Hario V60, Kalita Wave, Melitta)
- Paper filter (correct format – perfect fit!)
- Coffee grinder (ideally stepless, conical or disc grinder)
- Freshly roasted coffee
- Kettle with gooseneck spout for precise pouring
- Precision scale (0.1 g accuracy)
- timer
- Thermometer (optional, for temperature control)

Preparation: How to set up your setup correctly
- Insert filter paper
Place the filter paper in the hand filter and rinse it with hot water. This removes any paper taste and preheats the pot. Discard the rinse water. - Grinding coffee
Grind the beans fresh—about 15–16 g of coffee for one cup. The grind should be medium-coarse, similar to coarse sea salt. - Boil water & check temperature
Bring the water to about 94°C. If you don't have a thermometer, wait about 30 seconds after boiling before pouring. - Pour in coffee
Pour the freshly ground coffee evenly into the rinsed filter paper. Shake the filter gently to ensure the surface is even.
Step-by-step instructions: Brewing coffee with a hand filter
Relationship:
1:15 to 1:17 is standard. For 15 g of coffee, you need about 225–255 ml of water.
1. Blooming (pre-spring):
Pour in approximately 2 to 2.5 times the amount of coffee grounds (approximately 30–40 ml) in a circular motion. Make sure all the coffee grounds are moistened. Wait 30–45 seconds – this allows the CO₂ to escape, allowing the coffee to extract more effectively.
2. Main infusion :
Continue watering slowly and evenly – ideally in 3-4 intervals.
Example:
-
- Interval: 80 ml
- Interval: another 80 ml
- Interval: last 80–100 ml
Always water in a gentle, circular motion and keep the water level constant.
3. Observe lead time:
Total brewing time: 2:30–3:30 minutes
If the coffee runs through too quickly → grind too coarse
If it pulls → grind too fine
What you need to pay attention to when pouring
- Water flow: even, not too strong
- Do not rinse the side walls – the water should flow through the coffee grounds, not past them
- Keep calm: Water with feeling instead of force
- Water quality: Use soft, filtered water – hard water “smothers” delicate aromas
Typical mistakes – and how to avoid them
| Mistake | Caused | Solution |
| Bitter coffee | Water too hot, ground too finely | Lower temperature, choose coarser grind |
| Thin and watery | Too little coffee, too coarse grind | Add more coffee grounds or finer grind |
| Uneven taste | Improper infusion technique | Pour evenly, circularly and centrally |
| Fast run-through | Grind too coarse, too little coffee | Grind finer, adjust dose |
| Muddy ground | Grind too fine, flow too slow | Grind coarser, keep an eye on the total time |

Advanced tips for gourmets
- Pulse pouring vs. continuous pouring
Pulsing (at intervals) creates a more complex body – continuous pouring creates more clarity in the taste. - Bypass technique
You only brew 80–90% of the water directly over the coffee and add the rest separately. This allows you to control the body more precisely. - Agitation (stirring)
A gentle stir with a wooden stick after blooming can improve extraction – but only if you know how to do it. - Adjust brewing temperature
Lighter roasts often benefit from 94–96 °C, while dark roasts benefit from 88–92 °C.
Conclusion: Brew more consciously, enjoy better
By using a hand filter, you're choosing a conscious way of brewing coffee—a method that requires knowledge, patience, and precision. You take your time. You observe. You refine. And that's precisely why you'll be rewarded with a cup that tastes exactly the way you want it: nuanced, clean, aromatic.
Once you've mastered the technique, the hand filter isn't just an alternative—it's the benchmark. No push-button coffee can offer you this level of control and depth. Every small adjustment—grind size, temperature, pouring pattern—is directly reflected in the flavor.
So: take your time. Feel your way. And enjoy the process. Because filter coffee isn't just a drink—it's a craft.